Information · Description · Step 1 · Step 2 · Step 3 · Step 4
Tutorial By: HITMAN-X-
Special Thanks To: Everyone over at Paint.NET
What You Will Need: Paint.NET
This tutorial will explain to you how to use the Choose Defaults option in Paint.NET for loading your own settings when Paint.NET starts. This is very easy to do.
Note: This is just a quick going over of the Choose Defualts. There is a full page on Choose Defaults in the Paint.NET document. It can be found HERE
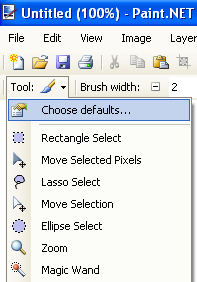
Open Paint.NET and then go to the Tools button on the last tool bar. Click it and pick Choose Defaults. (see image below for more detail)

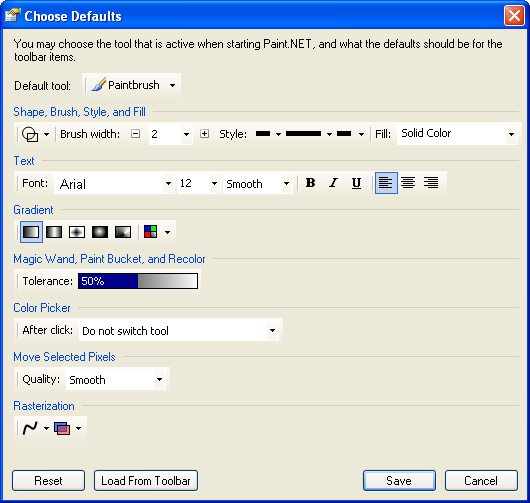
Now you should have a Window on your screen called Choose Defaults with tool bars options. (See image below)

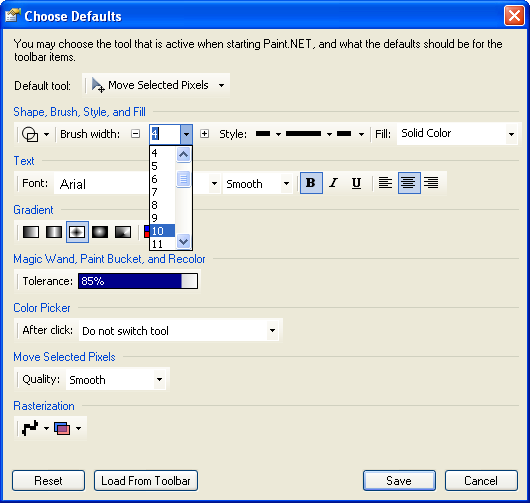
These are the tool options set when Paint.NET is loaded by default. You can change them for your needs so that when Paint.NET loads, it will load your tool settings. (see image below)

I will now go through the buttons ![]() ,
, ![]() ,
, ![]() , and
, and ![]() .
.
![]() : This button will reset the Choose Defaults back to Paint.NET default settings.
: This button will reset the Choose Defaults back to Paint.NET default settings.
![]() : This button is really handy as it will load the settings you have change when working in Paint.NET to the Choose Defaults window for you to save. (Best used if you have to edit alot of images using the same settings. When you get tired you can use this button to take the settings you were using and then save them to load up the next time you run Paint.NET)
: This button is really handy as it will load the settings you have change when working in Paint.NET to the Choose Defaults window for you to save. (Best used if you have to edit alot of images using the same settings. When you get tired you can use this button to take the settings you were using and then save them to load up the next time you run Paint.NET)
![]() : Use this button to save your new configuration for Paint.NET loading.
: Use this button to save your new configuration for Paint.NET loading.
![]() : This button will cancel all changes made and close the Choose Defaults Window
: This button will cancel all changes made and close the Choose Defaults Window
Once you saved your changes, close Paint.NET and then reopen it to see if it loads your settings as default.